

Dave Duffy
October 12, 2016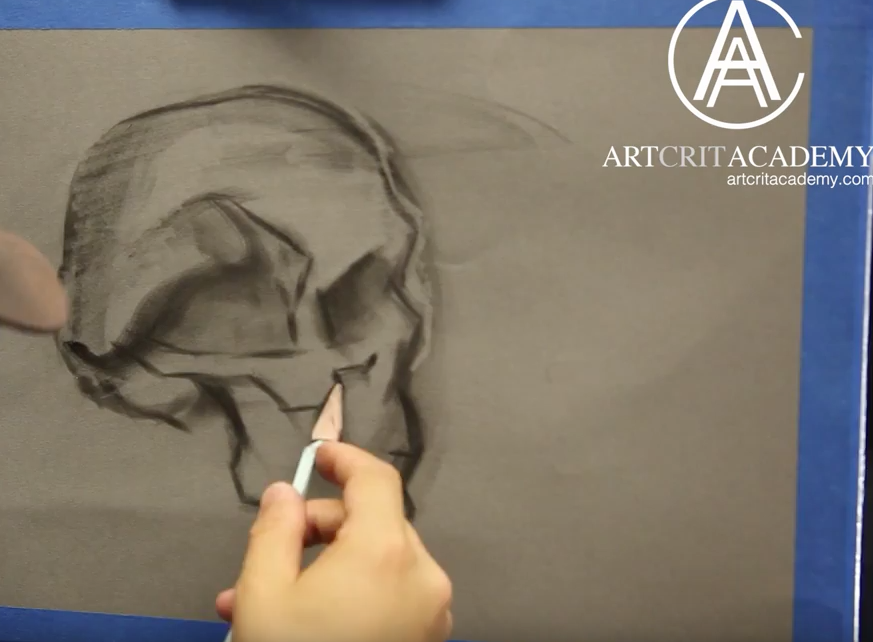


David Kassan – Drawing Demo
November 1, 2016This is a quick and easy way to transfer a drawing or image using PanPastel, this is a great alternative to using transfer paper. Here we feature two methods – a “direct” method as shown in the step-by-step (1-4), and also the “carbon copy” method shown in the Getty Museum video below which protects the original drawing or image.
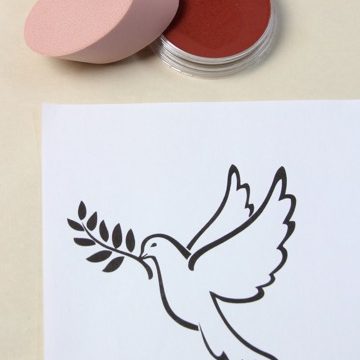

1. Select the image you would like to transfer. Print/photocopy the image onto lightweight paper such as photocopy paper.
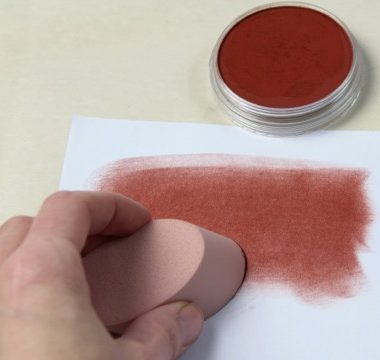

2. Turn image over – cover the back of the image with a PanPastel earth color, using one of the large Sofft Sponges (e.g. Angle Slice or Big Oval). Here we used PanPastel Red Iron Oxide Shade (380.3).
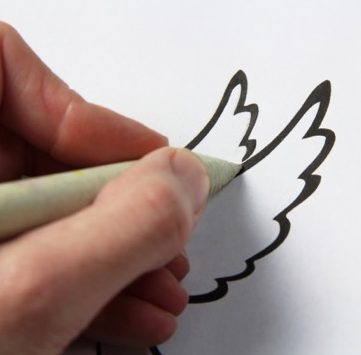

3. Place image right side up and place it on top of the desired transfer surface. To achieve an accurate transfer and to prevent the paper from moving we recommend securing the paper with a low tack tape / masking tape.
Then, using a blunt-tipped instrument such as a stylus, blunt pencil, pen, paper stump etc. trace carefully using moderate pressure along the outline of the printed image.
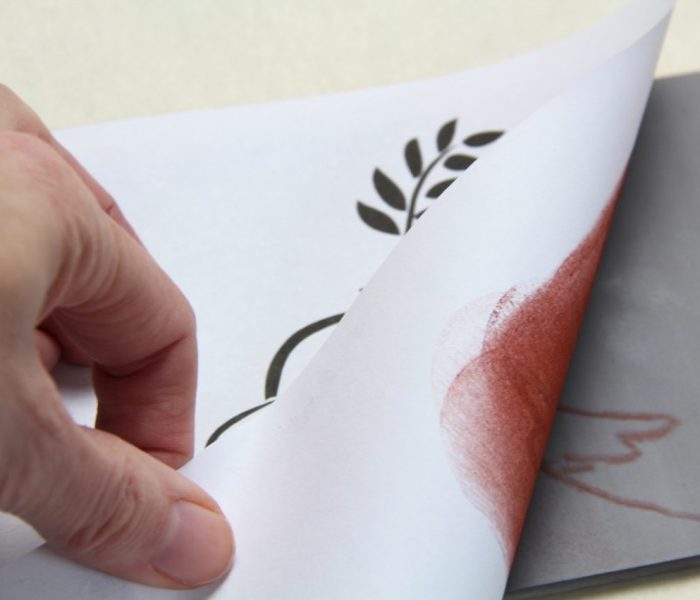

4. Prior to lifting paper fully, it is a good idea to lift one or two corners carefully to check whether the image has fully transferred. If there are areas that still need to be transferred you can then lay the paper back down, and trace over those areas. The image is now transferred to the desired transfer surface.
GETTY MUSEUM VIDEO
Modern-day conservation tools such as infrared technology have revealed that beneath the surface of Renaissance artwork are drawings known as cartoons, which the masters used to guide their paintings, tapestries and frescoes. Using the carbon copy method shown in this video as an alternative to the “direct” method used above, the original drawing guides can be saved and reused. This method can be used with PanPastel in place of the chalk used in this video.

